Every photographer that does their own film processing has their own particular method that they use to do it. Thankfully, it’s well-documented in places like YouTube for those that are interested in it. Overall, it’s not as hard as you think. If you’re willing to do some legwork yourself, you can save quite a lot of money on old-school analog photography. Mail-order film labs do exist, and for a fee you do have the option of sending your film off to have it developed and scanned. But, if you want to do film repeatedly and sustain it, costs will add up pretty quickly. It is much more economical to do it yourself.
One thing I’ve never done on my blog site is to document my own method.
Having said that, here’s how I do it.
I’ll begin by saying every tool I show here is available inexpensively on Amazon, B&H Photo, or several other sites.
First things first, we have to get the film out of the cassette and on to the reel and in the tank, all without exposing it to any light. This must be done in total darkness and there are no exceptions. It’s not as difficult as it sounds.
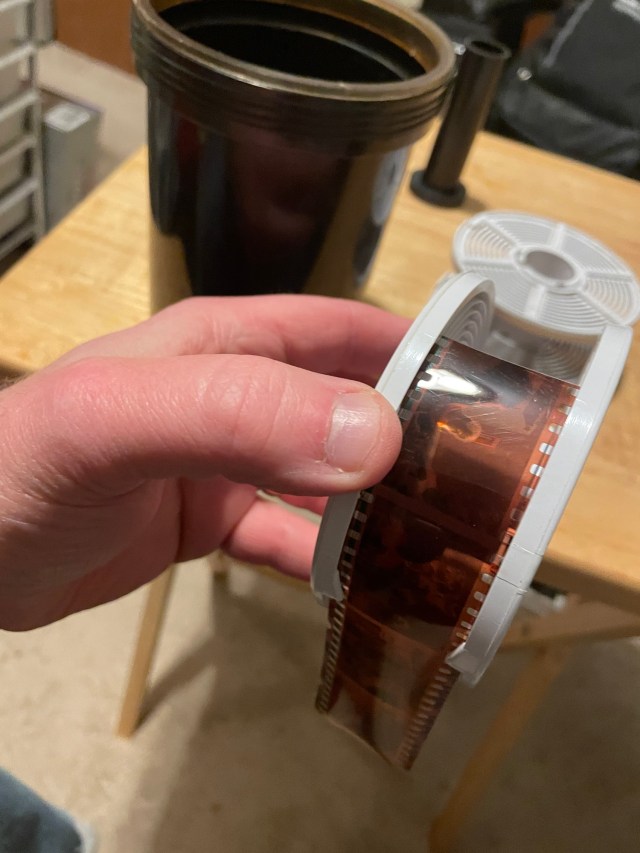
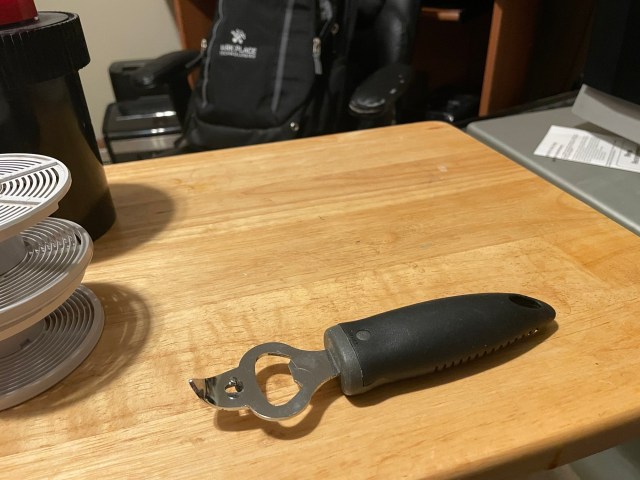
To begin with, we’ll need our tank. Contained within are two reels, which we will see in a moment. I purchased this in 1999 at a local camera store in Fairfax, VA. The trick is you will want to open up your film cannister and position the film on the reel at the pointed tabs. Underneath these tabs are rails with ball bearings. Once you can get the film in between those (done by feel), you can move one side of the reel counter clockwise and advance the film to the center, so you’re left with a spiral where the film is coiled up and not touching. It does take practice, but it really isn’t hard once you get the feel of it. How do we get the film cannister open? I have always used a trusty bottle opener. This one in particular is what I’ve always used, purchased in 1999 at the Giant store in Annandale, VA. In the past (I’m now medically barred from drinking), after my reels are loaded, I’d pull this out of the changing bag (which we will see next) and repurpose it on a Bud Light. To facilitate loading of film without a formal darkroom, I use a changing bag. This is a double-lined black nylon bag that is light-tight with arm holes. There’s a zipper on the other side – so you place your film can, bottle opener, a pair of scissors, your tank and your reels inside. You then put your arms through your holds and work by feel. From here on out, you’re working blind. Speaking of scissors, I have a dedicated pair of film scissors that I always use. These are technically Fiskars fabric scissors which my wife graciously purchased for me at a 40% off sale at JoAnn’s fabric. Turns out, the sharpness is great for film. If all goes well, this is what you’ll be left with. As you can see with the Kodak film on the left, the strong tape that holds the film to the spool is why you need the scissors. The Fuji film, shown on the right, does not do it this way so it can be ripped off. Fun fact – the plastic spools and the aluminum on the film cans are both recyclable. Once you have your tank loaded and sealed, it’s time to work with chemistry. In our case, we are developing two rolls of negative color film, which utilizes the “C-41” process. This kit I have here is available at multiple sites online. In our case, Amazon. It comes in powdered form, so you will need two one-liter bottles to store them in. You will end up with the Developer chemical, which we use first, followed by the “BLIX” chemical, which we use after that.
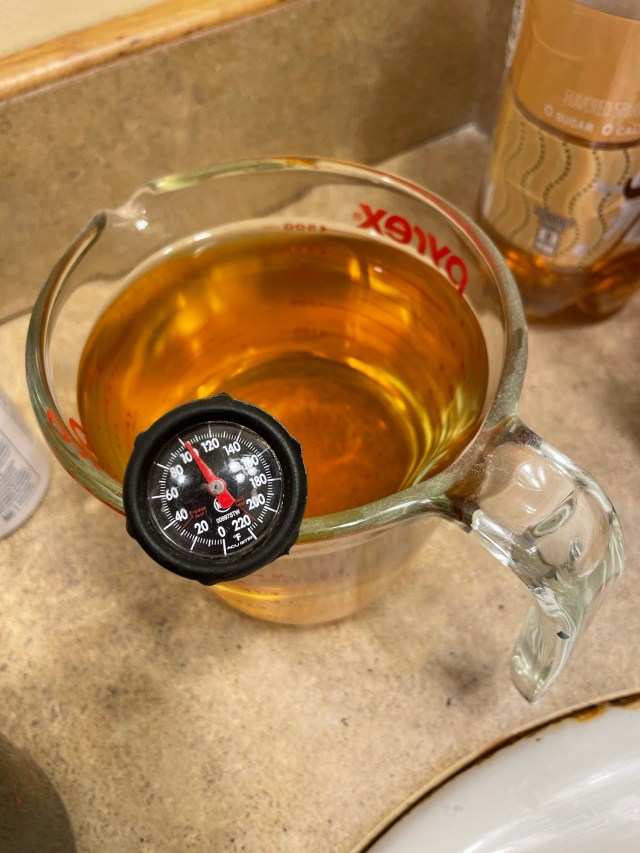
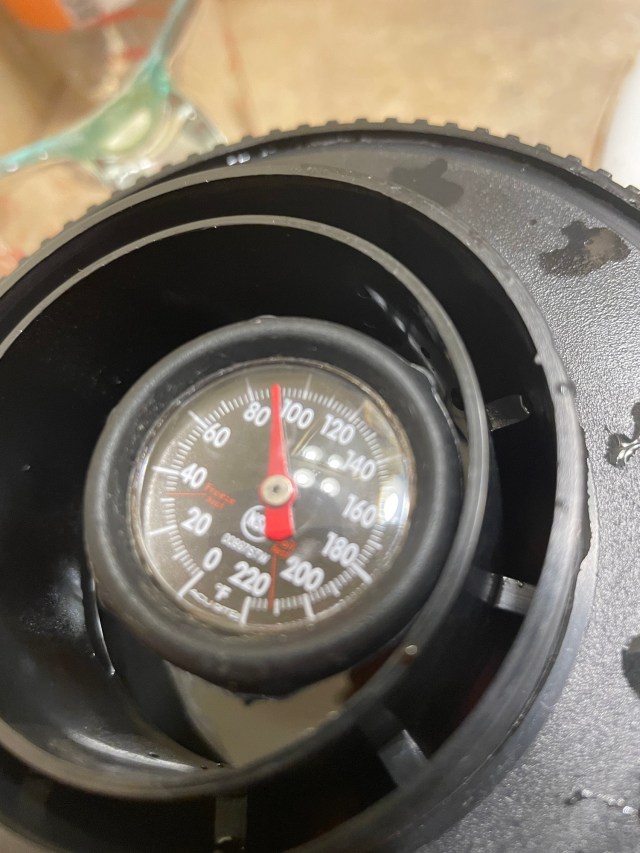
The developer chemical develops a black and white image on the film and develops the color dyes in each layer of the film, which form based on what sort of black and white image develops. The “BLIX” chemical, which is actually a combination of what they call a “bleach” and a “fixer” removes (or “bleaches away”) the silver used in the black and white image, so all that’s left are the layers of color dye, which form the color picture. I am giving the very rudimentary view of it here – for those of you that are really into chemistry look up Kodak’s “dye coupler” process to find out the really deep details. The “fixer” part of the chemical removes anything left of the undeveloped film, making it so that it isn’t sensitive to light anymore. Essentially, it’s “fixing” the image. We’ll discuss that third bottle in the middle a bit later. Here, we have the developer chemical on the top (the lighter colored one) and our BLIX chemical at the bottom (the darker colored one). Fun fact for all you chemistry nerds – the BLIX is two parts which produce an endothermic reaction (meaning fizz and bubbles) when mixed together. Notice I am using a thermometer here also. In order to work properly, the developer must be used at a temperature of 102 degrees farenheit. I use the microwave to heat it (about 30 second yields a 110 degree temperature, and it cools down enough by the time I make it to the bathroom that it’s usually at 102.). The BLIX chemical should also be that temperature, although, as long as it’s at least 90 degrees it will still work fine. The only critical thing is the developer – and even then, you only need to maintain that temperature for 3 and a half minutes. We can see there the developer is ready to go at about 102 degrees. This will vary based on what kit you’re using. In my case, I poured in the developer and shook it around for 3 and a half minutes. I then poured it back into the measuring cup and rinsed it with water several times. After that, we put the BLIX chemical in. The instructions say to use it for 6 minutes, but in experience, it usually takes a lot longer than that to fully work. I usually give it 15 minutes. There is no harm in “over doing it” with the BLIX as there is with the developer. Once it reacts, it’s done. After the BLIX, we rinse again. We can see here it’s ending at about 90 degrees.
At this point, it’s safe to remove the lid from your tank and look at your reels. Hopefully, you will find some nicely formed negative images. Now that the lid is off, we want to rinse it very thoroughly. I usually spend at least 15 minutes just rinsing. Now, we come to that third bottle. It contains a chemical which Kodak calls a “wetting agent.” Why they call it that, I honestly don’t know. It’s a weird name for what the chemical does – it breaks water tension and softens the water, preventing water spots and greatly decreases the time which it takes to dry. Soak it in this for a few minutes, then empty it out and go somewhere where you can hang the film up.
In my case, I am using the shower curtain rod in our bathroom to hang it up. I have a shower curtain hook and a binder clip. I just cut the excess film off the end, then put it in the binder clip and let it hang to dry. I also put a binder clip at the bottom of the film. This weighs it down so that it will dry straight, preventing the film from curling. The binder clip at the bottom.
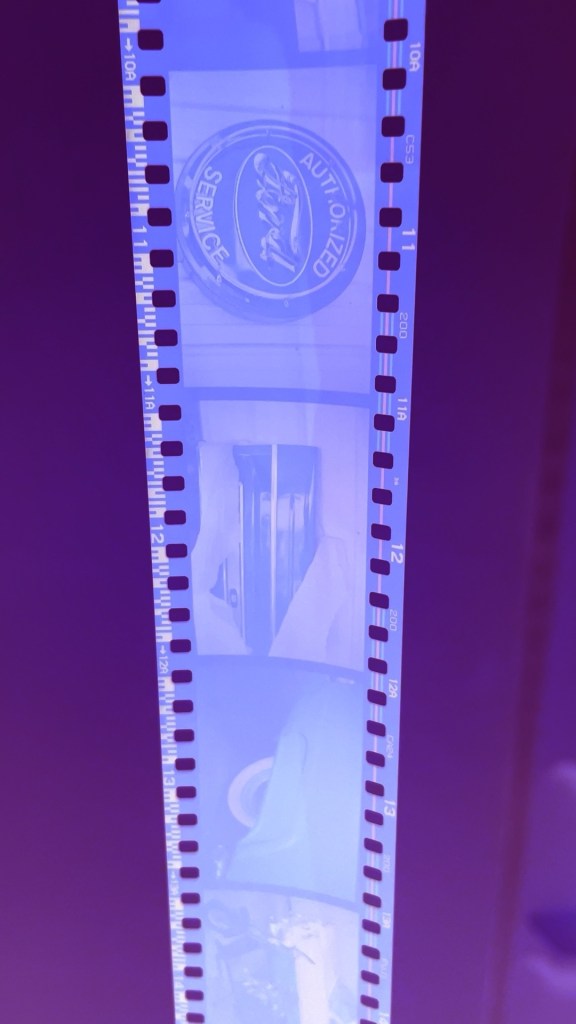
By the way, wondering what’s on these two rolls of film I’ve developed here? That will be future postings. Here is a reversed photo of the negatives hanging up that I shot on my iPhone.


One reply to “Development – My Method”