Everybody has got a “work flow” that they go through when they process their digital pictures, or rather a set of things they always do. For some, it’s as simple as upload it from their phone and show it off. For professionals, it’s a method that involves several dozen steps in software that costs $1000 per user and beyond. Everybody else covers how they do things, so why shouldn’t I?
Truth be told, I am somewhere in the middle. I do more than just upload it direct from my phone to wherever, but I don’t pay any money for software.
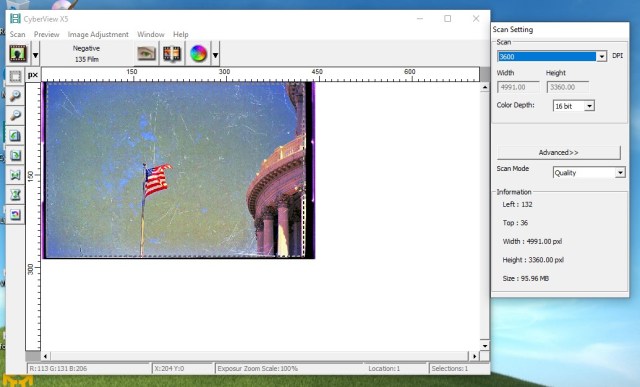
If I’m starting with film
First things first – if I’m starting with film, I process it. Chemistry is inexpensive, so there’s little reason not to do this yourself at home. The running joke I have is simply that “I know the guy that does it, he gives me a great deal.”
After I get the film developed, I scan it at the maximum setting my Pacific Images scanner permits, which yields an 18-megapixel image that is the exact equivalent (in terms of resolution) of a photo taken on my Canon SL1. I use uncompressed TIFF for the image format to ensure no data is lost, then it’s on to GIMP.

If I’m starting with digital
I keep the Canon SL1 and Nikon D7000 set the same way to use the “raw” format. I risk getting a bit too technical here, but in short, doing it this way allows for a lot more editing because all the data that passed through the lens is retained. If this isn’t used, the camera automatically adjusts everything in the picture and throws away all other data, so you can’t really do much with it. There’s a lot more I could say on this, but I am really trying to just give you the overview here. Google and Wikipedia are both great places to look up more on the top of “raw” images.


The techniques of composing, focusing, filters, and so on would bore the audience to tears, so I will just be brief and say after adjusting settings proper, I take the picture.
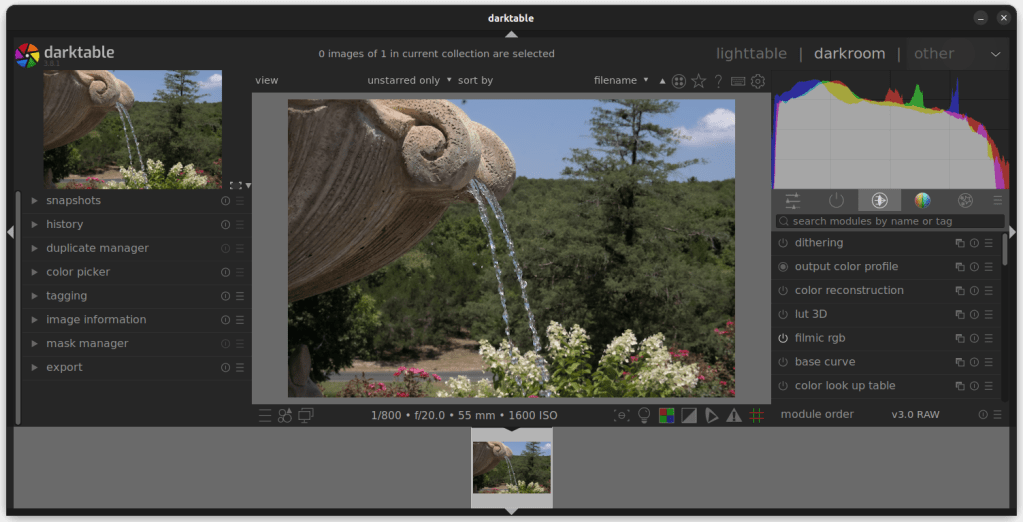
Up next, the picture goes through the darktable application. This is an open-source and free application comparable to Adobe Lightroom. There’s several options for filtering here – I typically choose to remove haze, remove raw noise, and do lens correction.
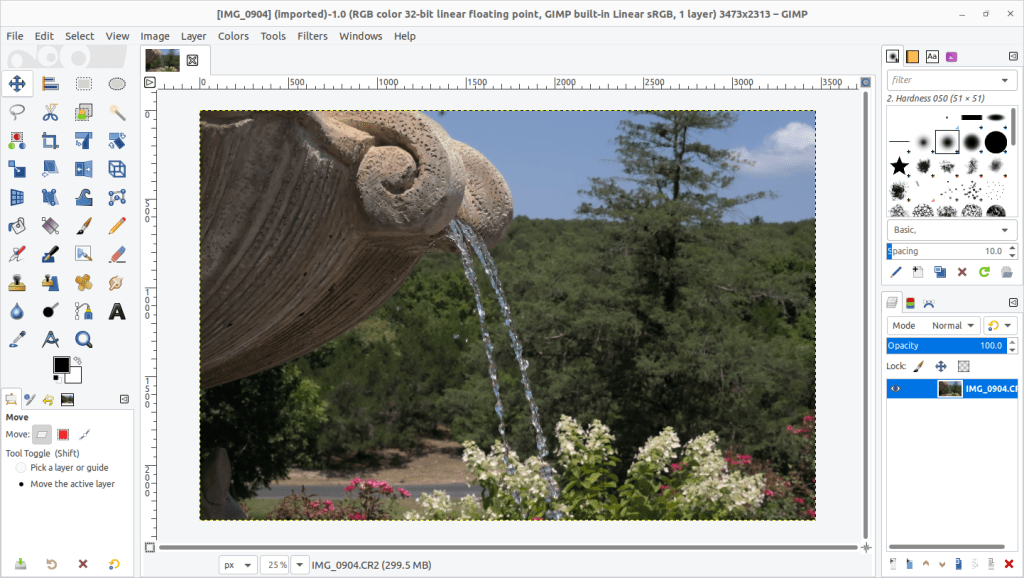
Once I am in the GIMP application (GNU Image Manipulation Program), then I can edit until I’m happy. I usually zero in on shadows, highlights, and color. Why GIMP? It does everything Adobe Photoshop does. But, it’s open-source and free. The most important part of that is the “free” part. Now, one could acquire “free” copies of Adobe products via software piracy. I have to be honest: over 10 years of my 20 year IT career have been spent installing and maintaining Adobe products. Copying their software for your own use free of charge is very difficult, to the point where it’s just more trouble than it’s worth with legal free alternatives available. To put it in more perspective, the two Adobe applications (Lightroom and Photoshop) that are comparable to what i’m using here are available online for $19.99 a month. Even so, that’s over $200 a year. That adds up quick when you’re a hobbyist. In short – yes, Adobe products are the “de facto” standard in photography and art. I choose to go cheap.
Lastly, I add my watermark, which is simply text on a transparent background that I can add as an extra layer, then adjust the opacity until I’m happy.

Ladies and gentlemen, that’s all there is to it. It is rather simplistic by professional standards, and honestly it’s rather amateur. But, this is a hobby, and I try to do it inexpensively. Shoot photos, not each other!


I am a fan of and use both GIMP and darktable. I’m a big proponent of open source software in general. I’m glad your PF3650u is still serving you well.
LikeLike